DIY Rustic photograph holder
It all started with books. A friend told me about Flipkart.com, and when I checked the site out I was amazed by all the books it had to offer. In fact, it had every book in my wishlist. And a few days after placing my order, there they were waiting for me at home! After the initial excitement of receiving a parcel in the mail (Isn't it a lovely feeling?), my focus turned to the box it arrived in. I don't know what my state of mind was at the time, but it looked a little like a window to me. And so it began. I found it a great recreational activity, extremely simple and a welcome break from the computer screen. So, here I share it with you all.

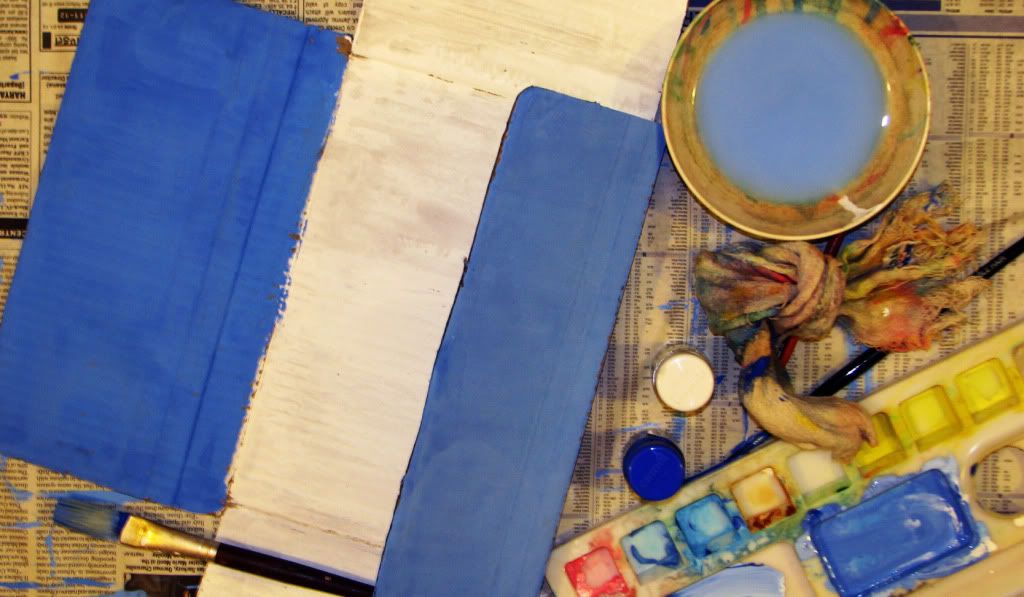
1. Paint the cardboard box depending on your chosen color scheme. I have a soft spot for a blue door against a white wall, so those were the base colors I used. Be generous with the paint, covering any and all prints on the board. Don't be afraid of it being uneven; it works well with the final look if it isn't close to perfect.
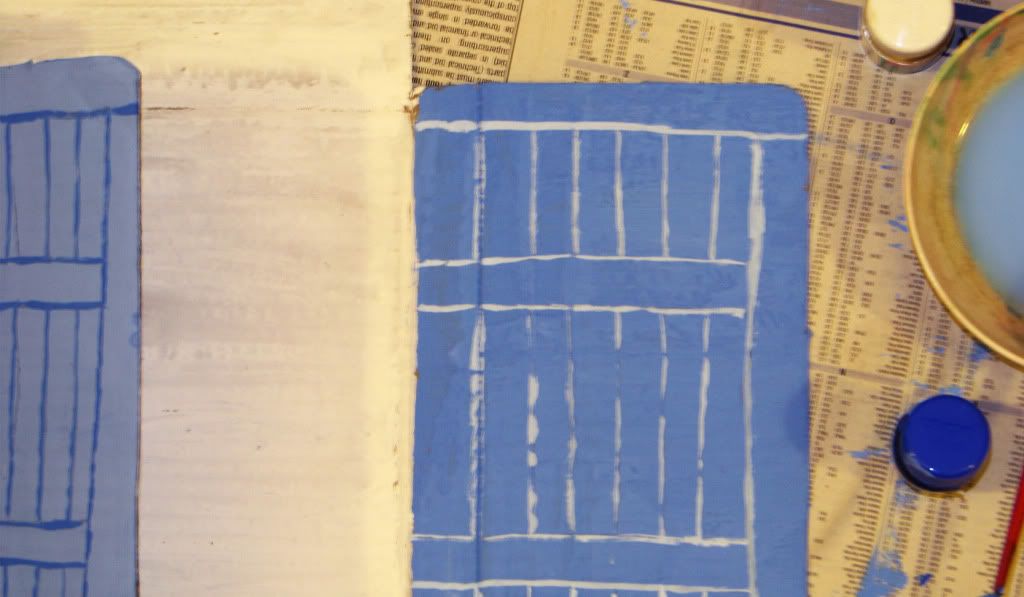
2. Once properly dry, paint the general outline of a door in front as well as on the back of the board. You can stick to the conventional hue of your color scheme, or go crazy and use a totally different color! Remember to wait for each paint layer to dry before you proceed to the next step. Use color pencils to give the texture of wood on the doors. If you have trouble visualizing this, take help from a picture of an actual door.
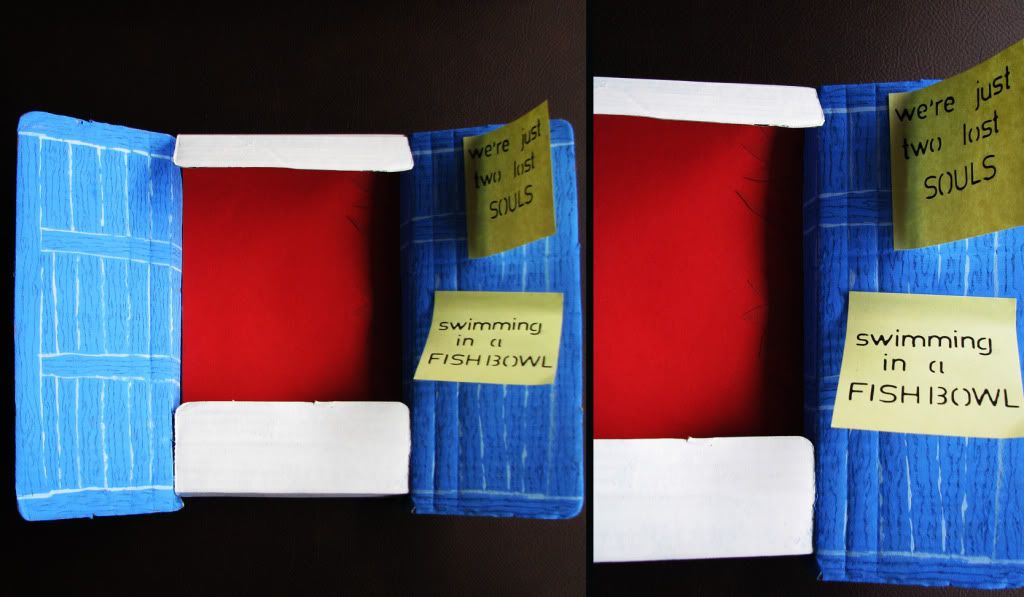
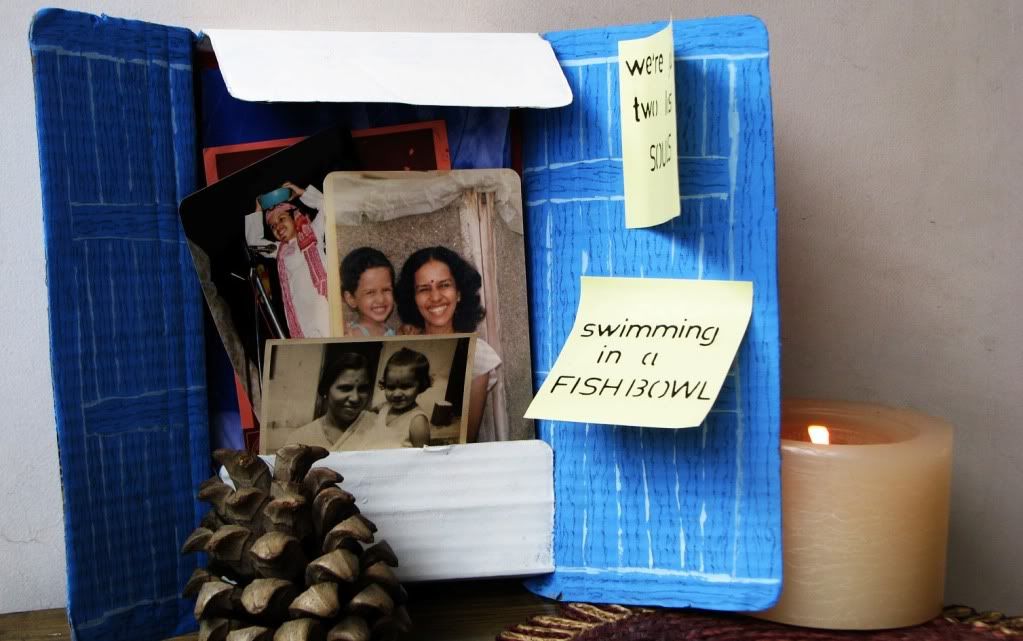
3. Stick the lower end of the box with the parts replicating the door. Also stick the top to make it look like a sun-shade. This is the basic look of your holder. Now is the time to let those creative juices flow. You can stamp a pattern on the main frame, or you could use craft paper. I used a red craft paper to cover the frame, and cut out a creeper to give it some texture on the side. The doors can be left bare to give the look of an old window, or can be made a little more interesting using post-its. The lines from the Pink Floyd song 'Wish you were here' are stenciled on to mine.
If you feel the frame looks too simple, there are many more things you can do. For example, cut craft paper in the shape of plants and stick them to the back of the balcony. Colorful threads can be used to give a more arty look of clothes wires. Lesson to be learnt, don't limit your imagination.
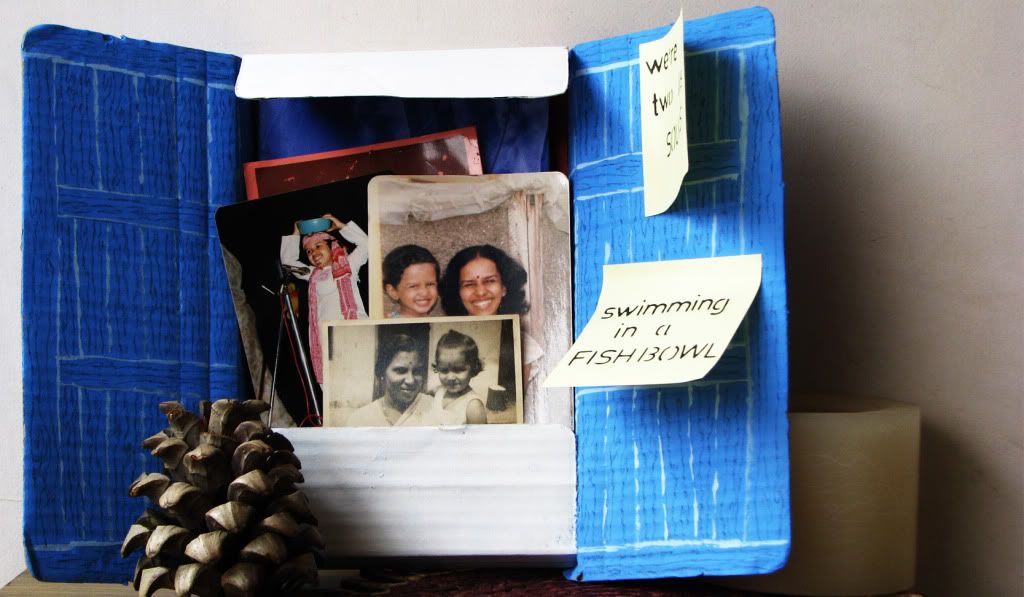
I am very happy with my little blue window. I find it a perfect way to display old pictures (something almost everyone has in excess) as well as some interesting looking postcards I collected, which otherwise would be tucked away in a cupboard. It now holds a welcome spot in my room.
That's really nice :)
ReplyDeleteThank you...hope to do more soon!
ReplyDelete