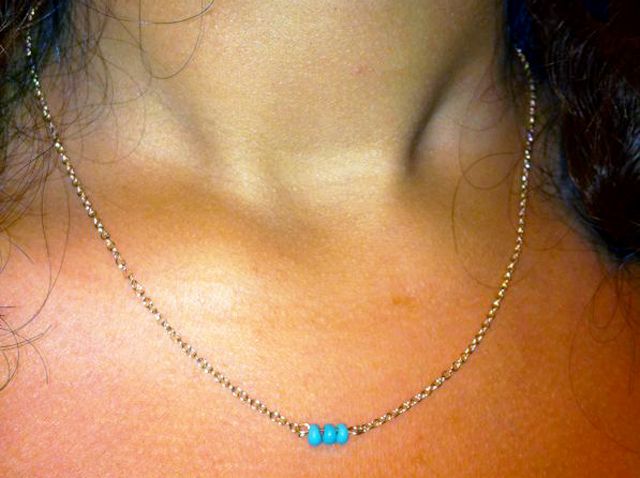
DIY Delicate Necklace
I took a much-needed break for a few days, but I certainly didn't forget. As promised, here's the post on how I made the necklace for my sister. I was glad I did; it was so much fun to make, and felt much more meaningful than a store bought. If you're planning to make one, then I'd suggest looking at what's out there so that you have a clear picture in mind. If you go to the bead store with no idea what you're making, you'll be lost for a very long time.
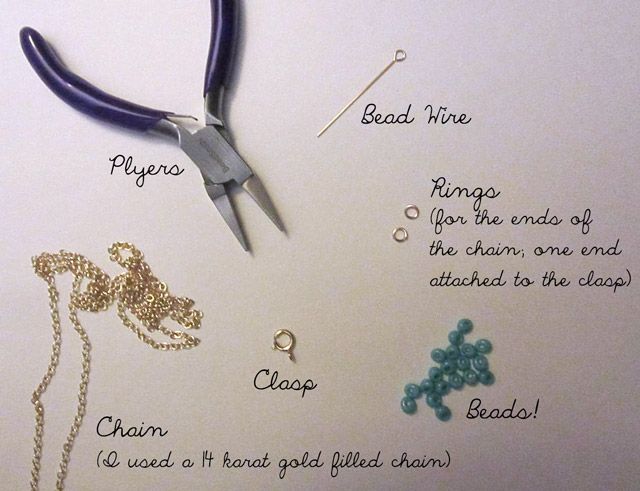
Things needed
Beads: Personally, the best part of making a necklace. You can go crazy with colors, shapes and sizes.
Bead wire: This is a wire that's shut in a loop on one side to assist you. Alternatively, you can also get a regular wire and loop it on both side.
Chain: Since it was a gift, I got a 14 karat gold filled wire, the most delicate yet workable one I could find. But you can always go for the less expensive version. There are many options in both.
Clasp: Choose one that's not too bulky, and close enough to the color of the chain.
Rings: To attach to the ends of the chain. One ring with also attach to the clasp.
Plyers: I got the mini plyers. They're perfect for cutting the chain, and bending and looping the other end of the bead wire.
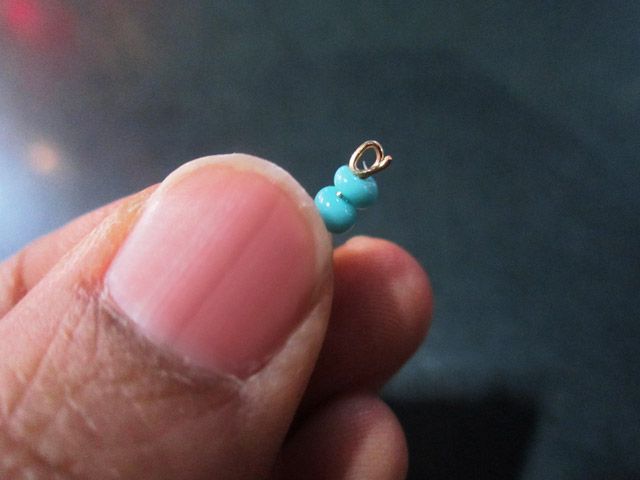

Put as many beads as you want through the bead wire, and use the plyers to bend and loop the straight side. This can be tricky, since you're working with very tiny items. So I would suggest getting some inexpensive wire to practice working with before moving on to your project. Once you're confident, you can make your pendant. Don't close the loop completely, it will also hold the chain.
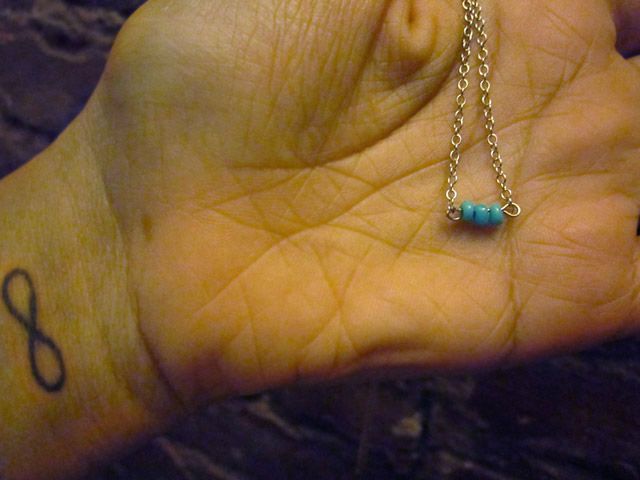
Put the ends of the chain through the loops of the bead wire, and use the plyers to shut the joints completely. This must be done carefully, so as to not break the wire. At this point, you should have a pendant connected to a closed chain (since the two ends of the chain have been secured in the loops of the bead wire). Now you must measure how long you'd like the necklace to be. In my opinion, keep it slightly longer than what you want, to be on the safe side. Use the plyers to cut the chain based on your measurement. Now you have an open necklace.


This is super cool - thanks for sharing!
ReplyDeleteI'm glad you liked it! And it was fun to do :)
ReplyDelete