DIY Bird bath
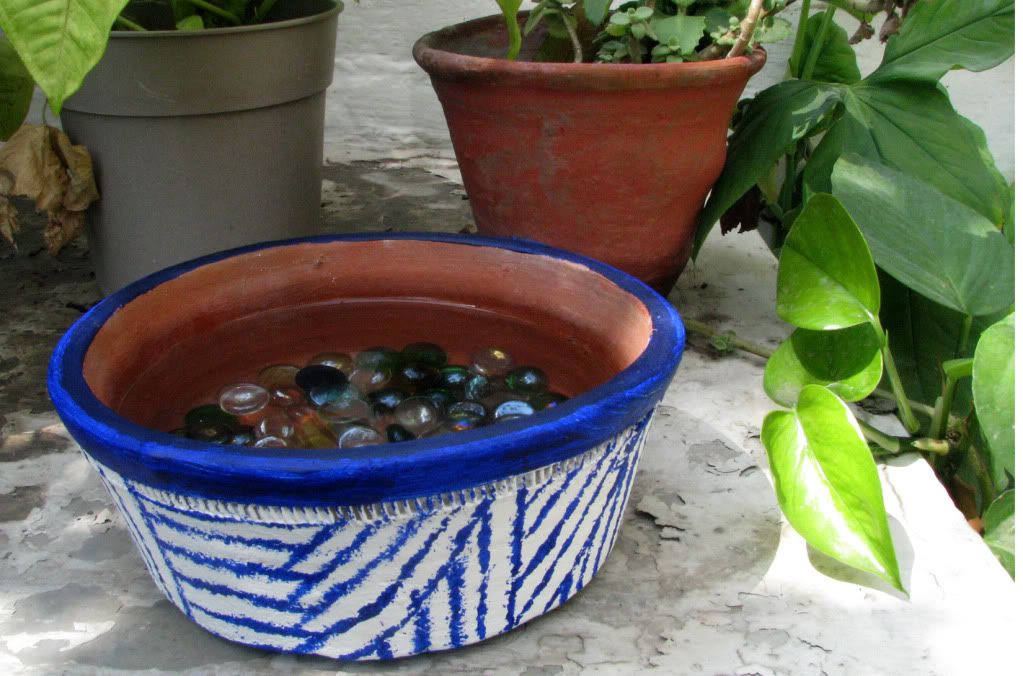
Summer is just around the corner. Not really looking forward to it (it gets bloody hot here in Delhi), and I'm sure our little feathered friends aren't really, either. So in an effort to help them out, I used some items found lying around at home (which would be really simple to find otherwise) to make a little bird bath.
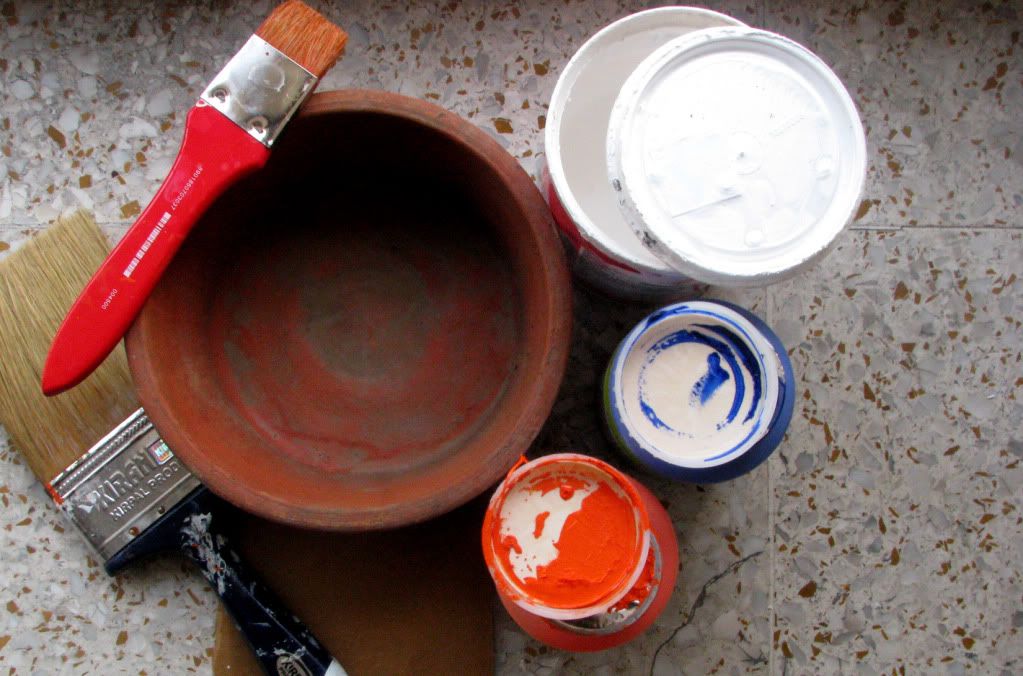

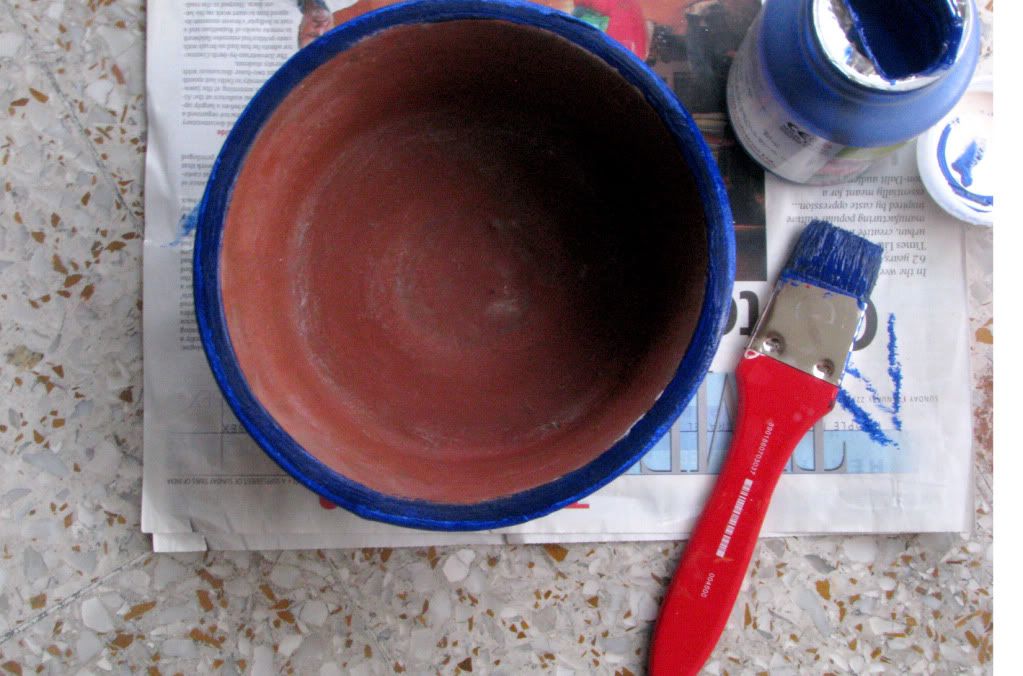
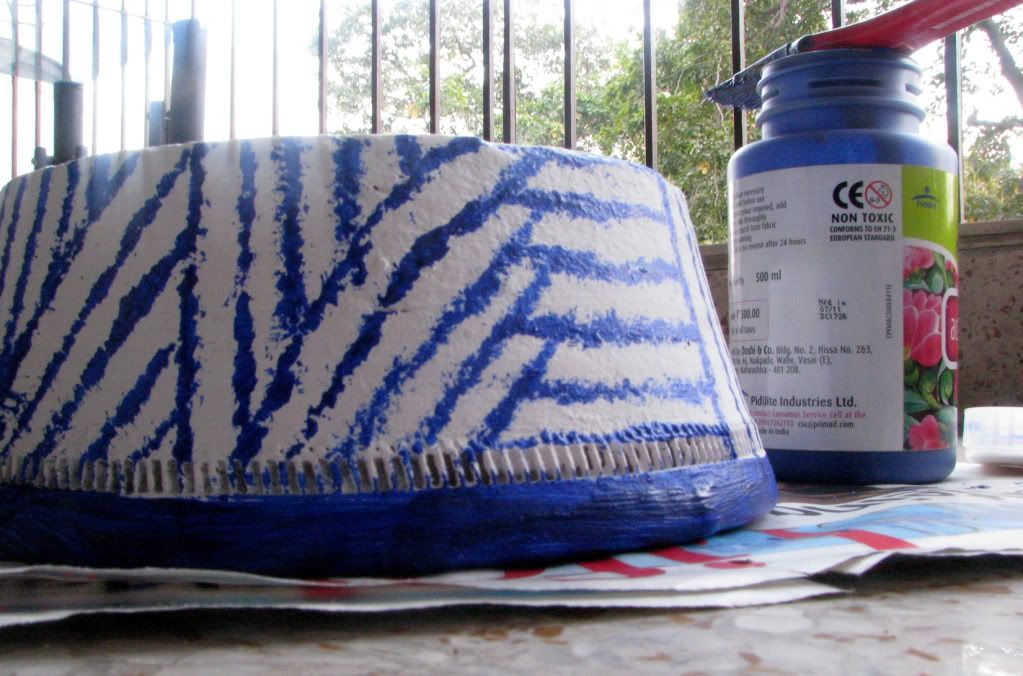
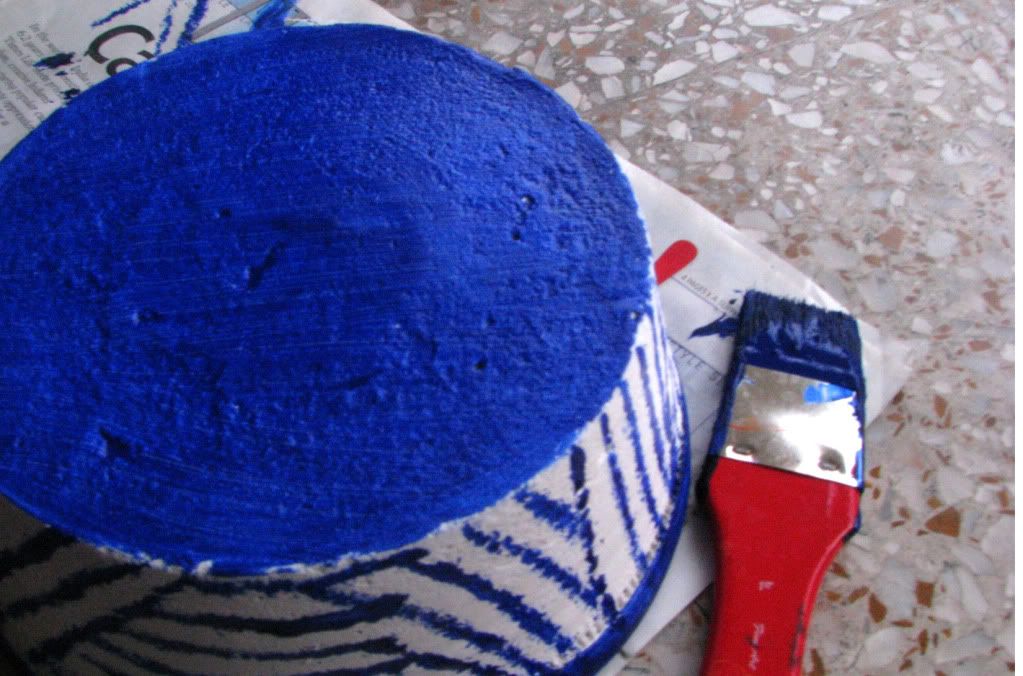
1. Start by smoothing the outer area of the pot. However, try leaving it a little uneven so that birds have a good hold while sitting on it. The next step is to waterproof it to avoid leakage. You can use a sealant before beginning to paint, or like me, can use a waterproof plastic emulsion paint. Make two to three layers of it, allowing each layer to dry before applying the next. Do not apply it on the interior of the pot, just to make sure the paint does not mix with the drinking water.
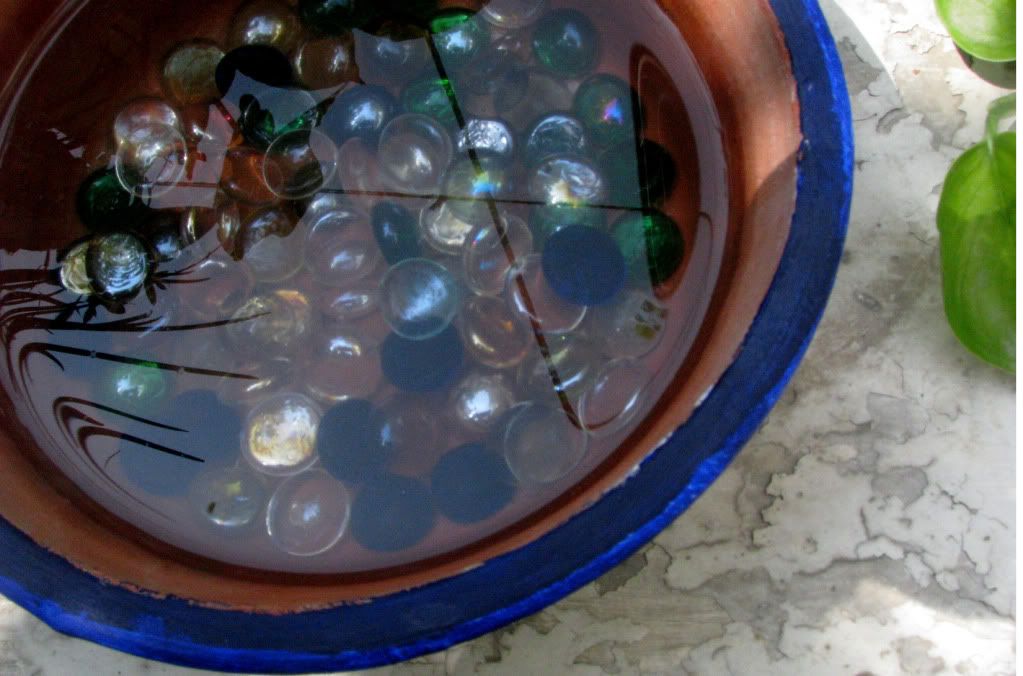
Now I find myself constantly checking for birds in the front yard! Being as green as it is, the place remains quite cool. So, I'm hoping the bird bath would make for a cool (literally!) hangout spot. If I do catch them socializing there, I will definitely try to take some pictures. But till then, I lurk.


Comments
Post a Comment
Thanks for stopping by! :)