DIY camera pouch
Let me begin by acknowledging the recent obsession with the diy projects. Off late, I have found various opportunities to work with different craft material, and a possible reason for this is the weather. In whatever free time I get, I'd just rather sit home and make stuff than go out (talk about being a hermit!). Also, these projects are done in between work, so they're a nice break from the screen (a break that would otherwise be lost on the tv).
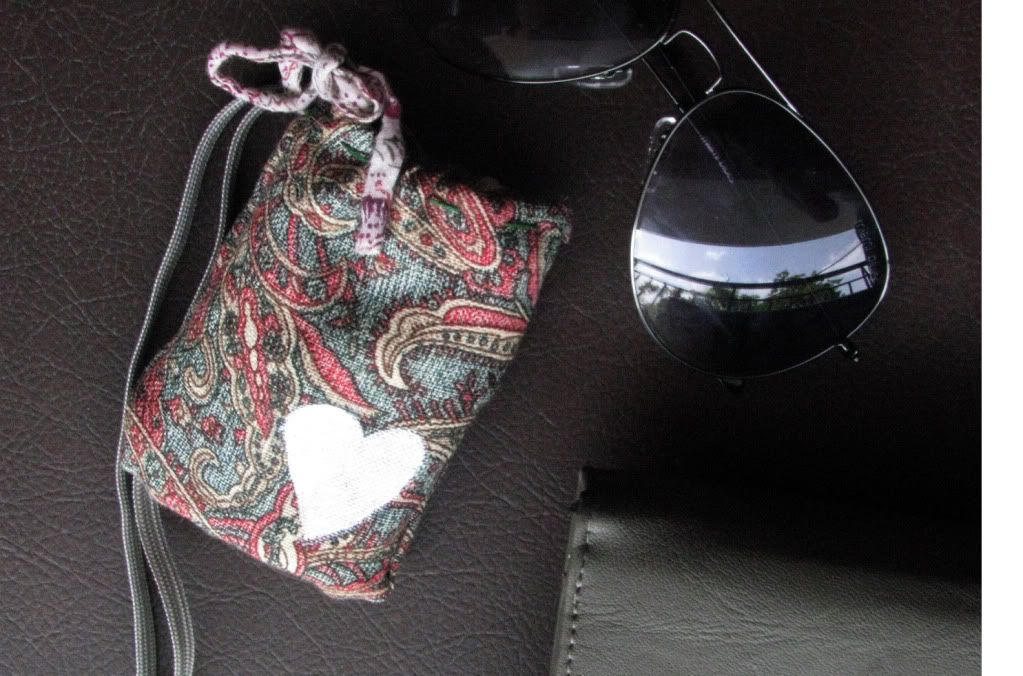
Dad has been travelling quite a bit these days, and his next trip is to Myanmar. Being his first time there, he wants to carry my point-n-shoot for if/when he goes sightseeing. It was when we couldn't find the camera pouch that the idea of making one came to me, and totally disregarding dad telling me he can do without it, I began the project in a second! I used fabric left over from a pair of pants I've given for stitching.


Measure and cut the cloth leaving a little extra place for the stitching. Make two similarly cut pieces that can be stitched together, and do so on the reverse side of the pattern. Leave a little area on top that can be folded to accommodate the ribbon to tie the pouch. Stitch that after placing the ribbon so that it's nice and snug. Cut any stray threads carefully. One problem I faced with the fabric choice was that the ends were fraying very easily, so i had to leave a wider margin while sewing. So I'd suggest you to keep that in mind while selecting your fabric.
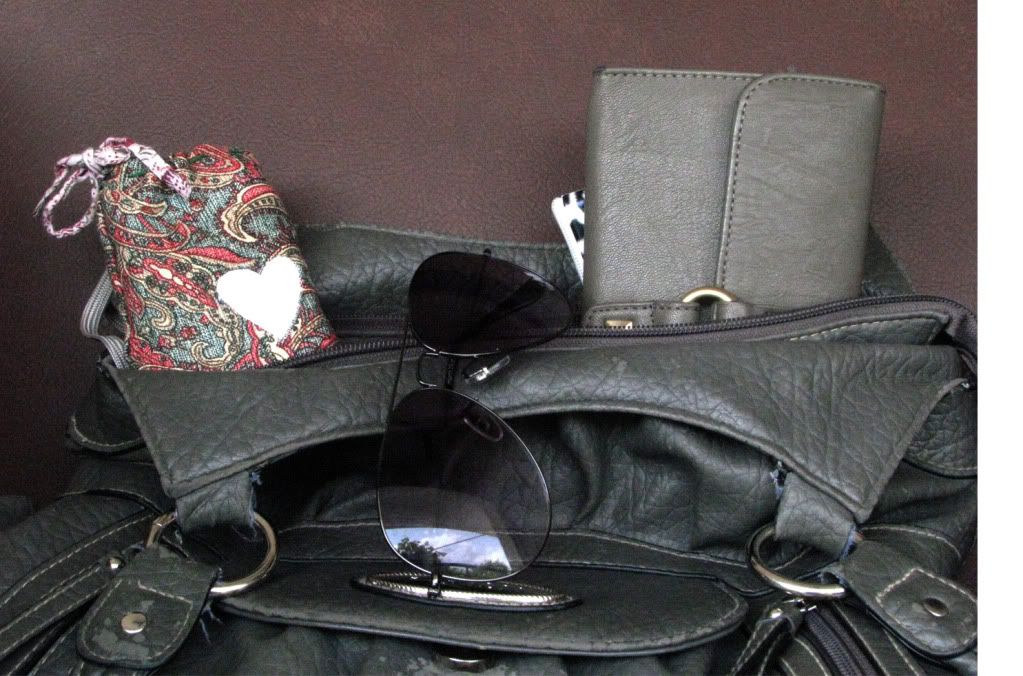


Love the print on that fabric!! And your Purse too!!
ReplyDelete