DIY floral bag
Dad attended a series of seminars last week, where the organizers gave all the attendees these lovely bags to hold their reading material. The second he showed it to me, I knew what was to become of it once he was done. The next day I was off to the market in search of some fabric paints. The basic idea of the task was to cover the logo of the company that hosted the talks (sorry guys, had to be done). I had come across some really pretty flower murals in the past week, so the theme was pretty much set in my head.
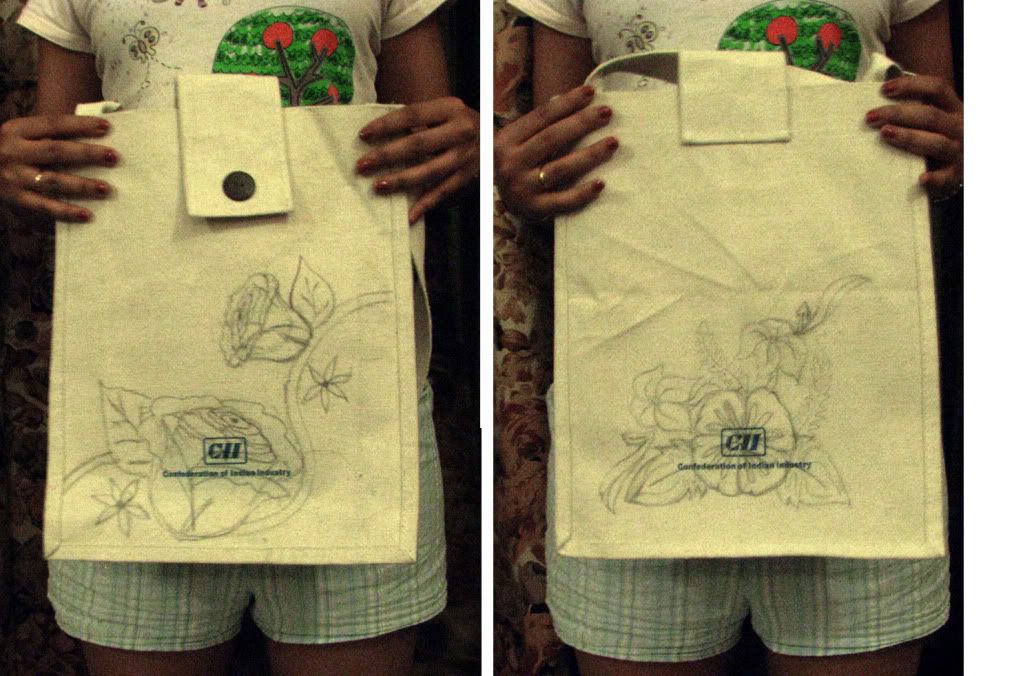
The sketch....
....and the paint
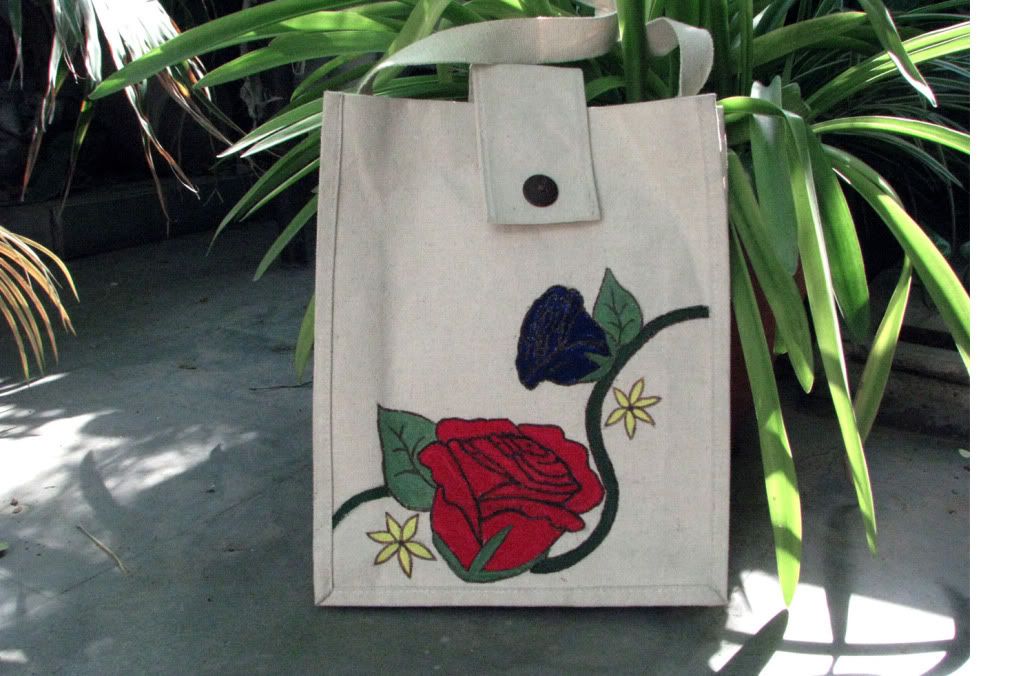
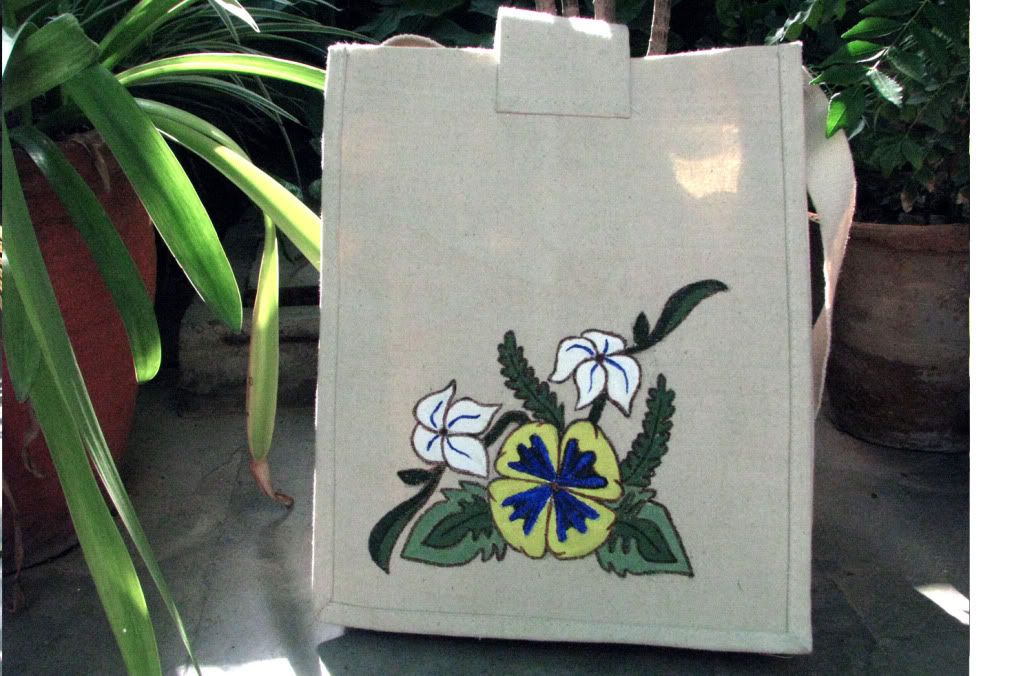
Being particularly fond of roses (I have a rose tattoo on my back), it was given most importance. But the rest still get their time in the spotlight if you ask me. It was a fun Sunday evening activity that took barely an hour to complete, thanks to the fast-drying acrylics.
It's always a good idea to wash the bag once before painting. Also, one has to be careful while ironing it (not directly on the design). Apart from that the bag is pretty low-maintenance. I will now proceed to transfer items from my old bag to this one, which will probably be a much bigger task considering all the junk that lives in the old guy. Auf wiedersehen!


This is so pretty! I am jealous of your steady hand for painting. My hand is not trained and I constantly shake; jagged lines, that's an artistic style, right?
ReplyDeleteTattoos are so interesting. It's fun to see what people gravitate too, to represent something special in their lives. I, uhem, have a few tattoos and hearts seem to be my go-to shape.
Thank you! My sketches come out shaky too, but the paint takes care of the errors. I've seen the wonderful art pieces you've made (I JUST saw the necklaces made out of the vintage napkins and they are gorgeous!!)so I'm sure this won't be too difficult for you :)
ReplyDelete